
























Using Figma to design perfect gallery walls
From the article
Quick heads up: Since writing this, I’ve found one or two fairly sizeable bugs in the Galleria plugin. I’ve published anyway cause the guide is not entirely dependent on Galleria, and Galleria is mostly functional. You can still give it a shot, or alternately use Photoshop’s Perspective Warp tool, or come back soon and I should have it worked out :) (cir. Feb 21 2025) I’m a twisted animal with a penchant for moving every two years, and the universal upside of moving every two years, as everyone will agree, is hanging new gallery walls. The rectangle enjoyer in me started using Figma to design them a few years ago; the upside is I can draft a bunch of ideas without taking up room on the living room floor, and can re-use the assets created year after year on new walls at new apartments. It even has the added bonus of becoming a little archive of past walls. It’s nice, and you can too. The tools you’ll need for this are: A tape measure Phone or other camera Figma Bro I realized about 4 seconds into writing this that IRL frames and Figma frames are really hard to refer to distinctly in writing — if any of this is confusing shoot me an email or complain on Bluesky and I’ll get you sorted. Gathering and treating assets The first thing that needs done is to photograph the pieces that’ll be going into the wall. I try to always shoot new additions in the same context and light. You want to avoid glare but most everything else can be fixed with a Figma plugin we’re gonna grab in the next step. It doesn’t even particularly matter how far or at what angle you take the photo, but in general: Take a photo of the entire framed image. The frame is part of the visual effect of the gallery wall so it’s important to include it, not just the artwork it contains. Leave a few inches around each frame , both to avoid lens distortion and so you have some room to crop in. Try to shoot mostly straight on. Doesn’t need to be perfect by any means but a little effort to square things up a bit before we manually square them wouldn’t be a bad thing. Correcting perspective using the Galleria plugin Next we’ll use a Figma plugin I made (crowd slamming hands on tables, chanting “shill! shill! shill!”) to make sure the perspective of our images is perfectly square for planning and mockup purposes. You can install and run the plugin from Figma Community: Galleria - Perspective Warp Tool by Henry (From Online) A Figma plugin for correcting or warping the perspective of image fills in your Figma document. this link goes some strange place beyond this website go with care Read more I’ve already written a detailed guide on how to use the plugin elsewhere on my blog, so if the onboard UI isn’t clear, you can head over there to get situated! Category resource Tags figma
Continue reading on henry.codesYou might also wanna read

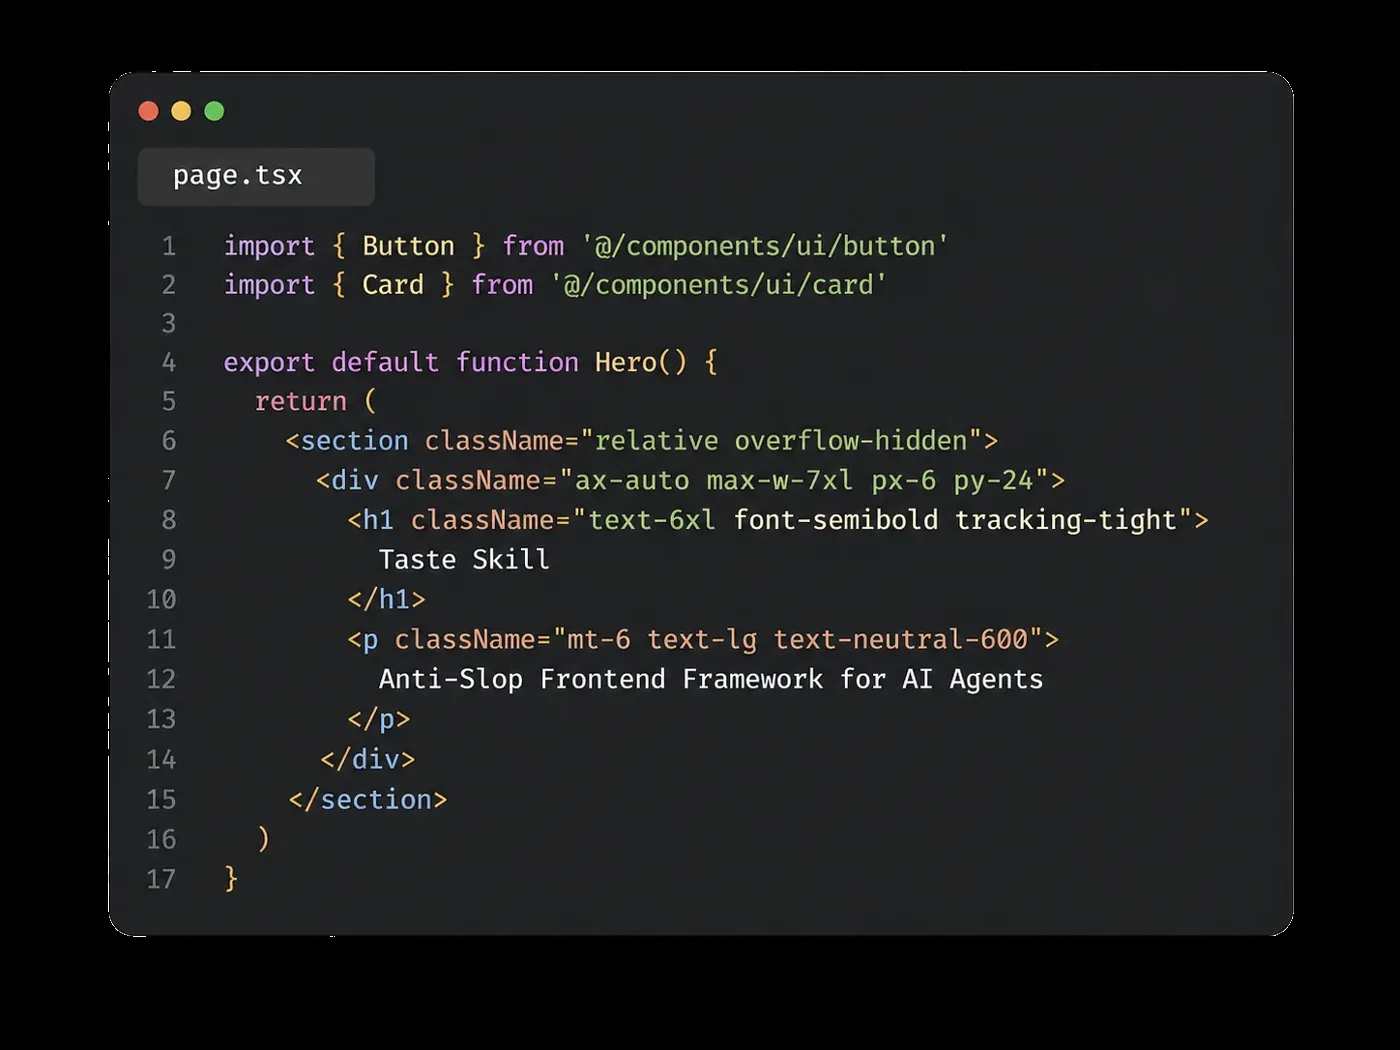
Taste Skill: An Open-Source Framework for Disciplined AI-Generated Web Design
Taste Skill is an open-source frontend framework created by designer Leon Lin that helps AI coding agents (like Cursor and Claude Code) gene
 Abduzeedo·1d ago
n8n workflow template: AI-powered UI design assistant using Telegram, Gemini, and Google Stitch
This article presents an n8n workflow template that creates an AI-powered design and prototyping assistant. The workflow integrates Telegram
n8n.io·2d ago

If You're a Button, You Have One Job: The Case for Responsive UI
developersdigest.tech·3d ago
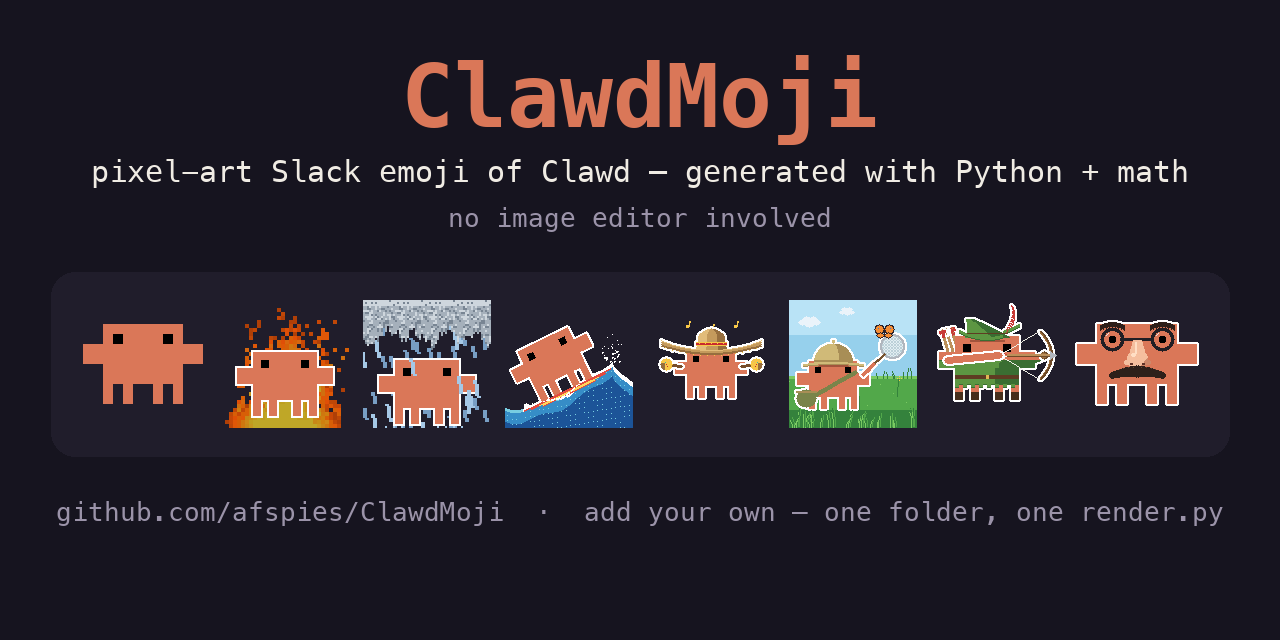
ClawdMoji: Programmatically generated pixel-art Slack emoji of the Clawd mascot using Python and math
A GitHub repository (ClawdMoji) that programmatically generates pixel-art Slack emoji of the Clawd mascot using Python and math, without any
 github.com·5d ago
June 2026 Roundup: New Tools and Resources for Web Developers and Designers
A curated roundup of new tools and resources for web developers and designers for June 2026, covering GPU-accelerated terminal emulators, AI
 Hongkiat·8d ago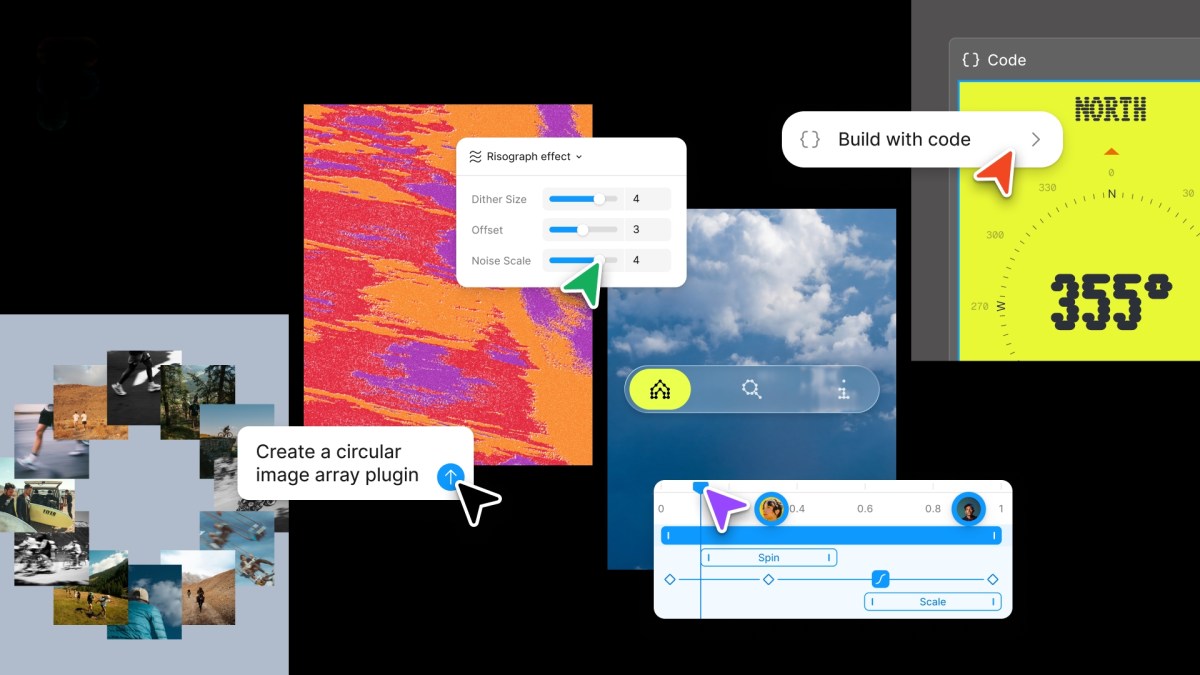
Figma adds native code layers, animation support, and AI plug-in creation
Figma announced a major update adding code layers directly to its collaborative canvas, support for motion and shaders, and AI-powered custo
 techcrunch.com·13d ago
Comments
Sign in to join the conversation.
No comments yet. Be the first.